
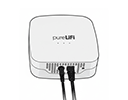
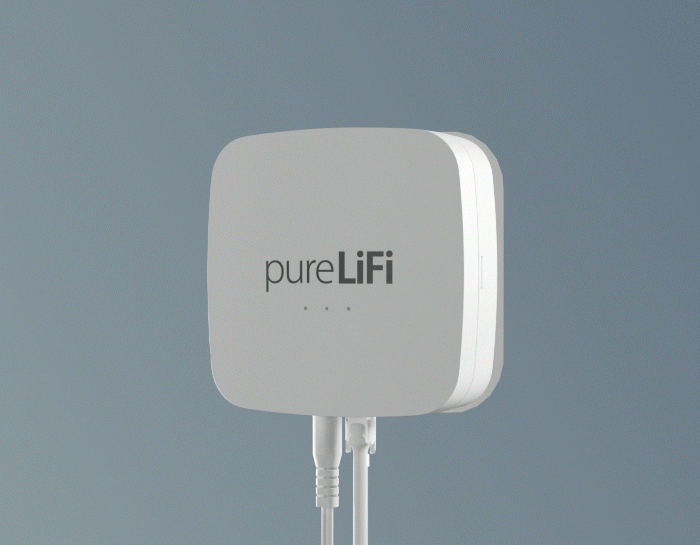
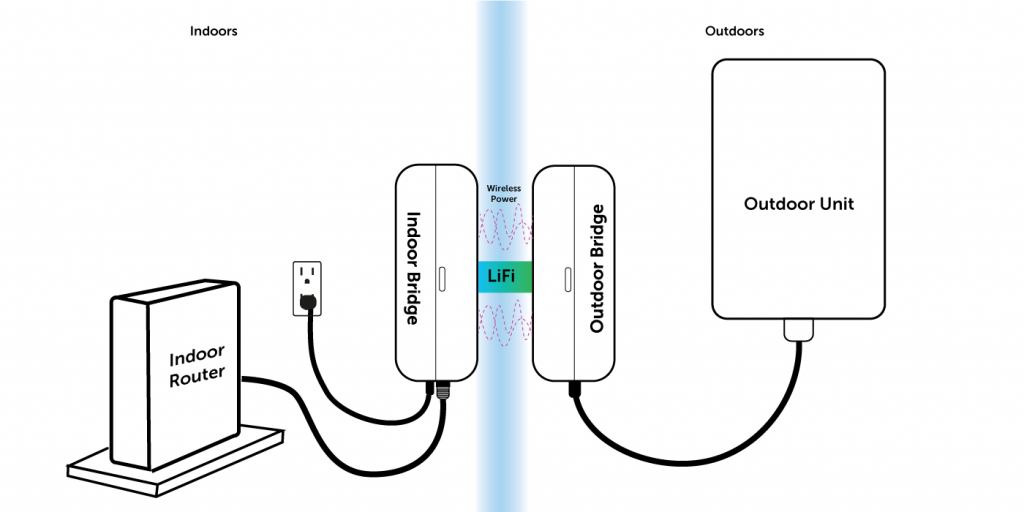
Outdoor Bridge
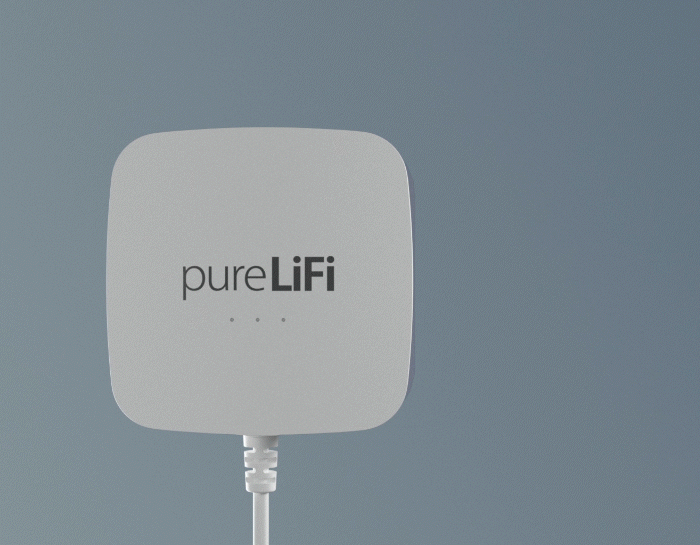
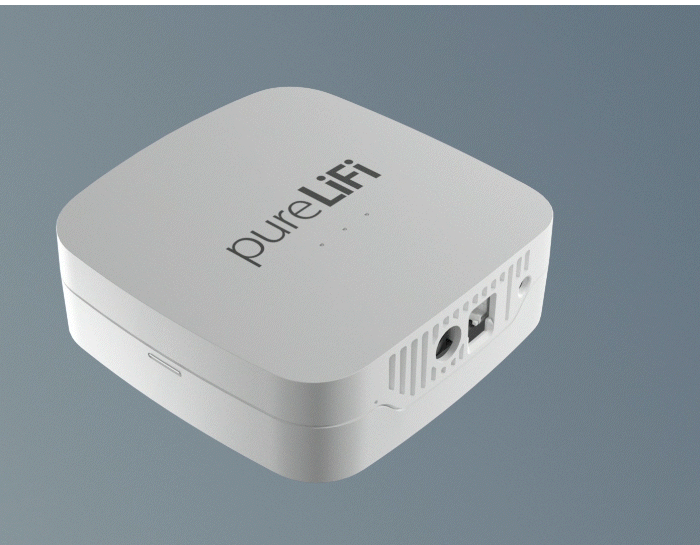
Indoor Bridge
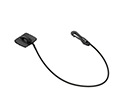
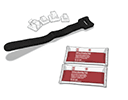
Anchor Strap
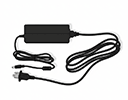
Power Adaptor
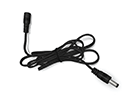
DC Power Extension Cable
Cable Tidy & Solvent Wipes
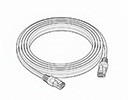
Ethernet Cable
Bridge XC
Gasket
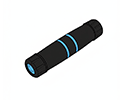
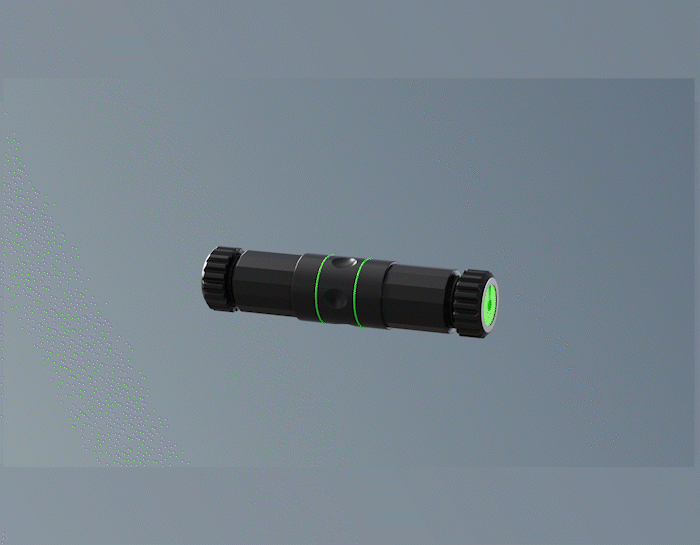
Barrel Connecor
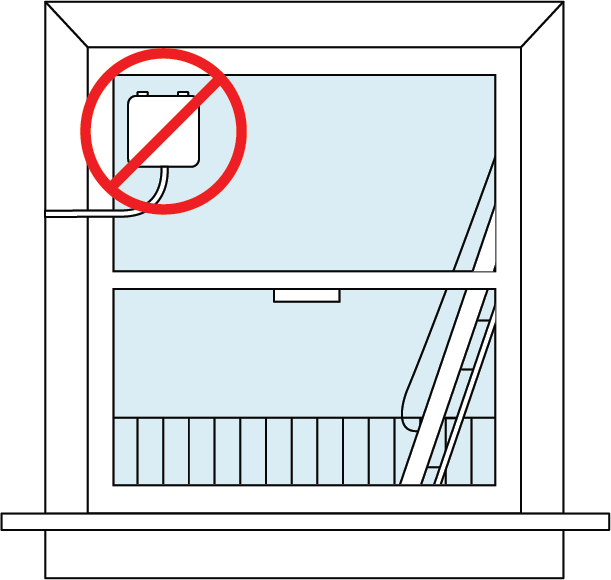
Fire Escape
Ensure you do not instal your device on a fire escape.
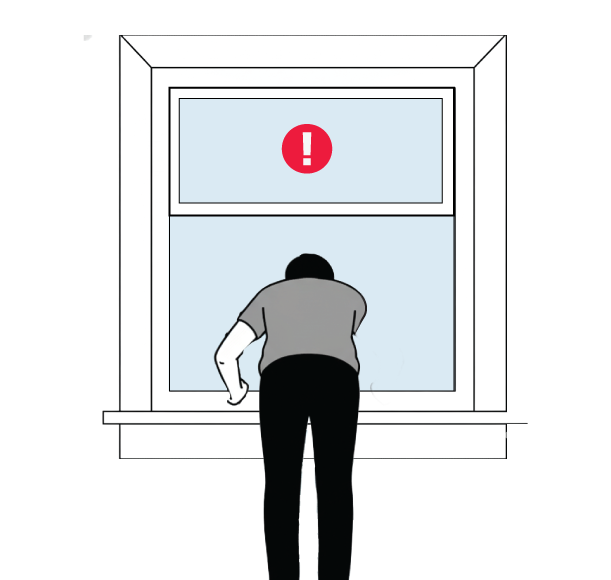
Never Lean out
Do not lean your body outside a window.
Room To Breathe
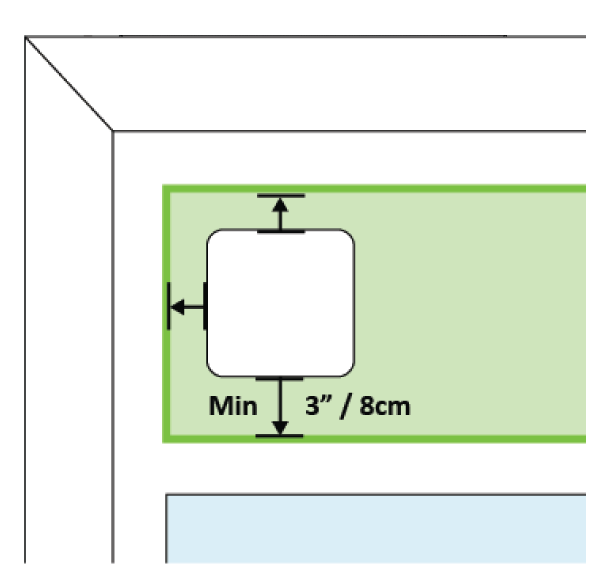
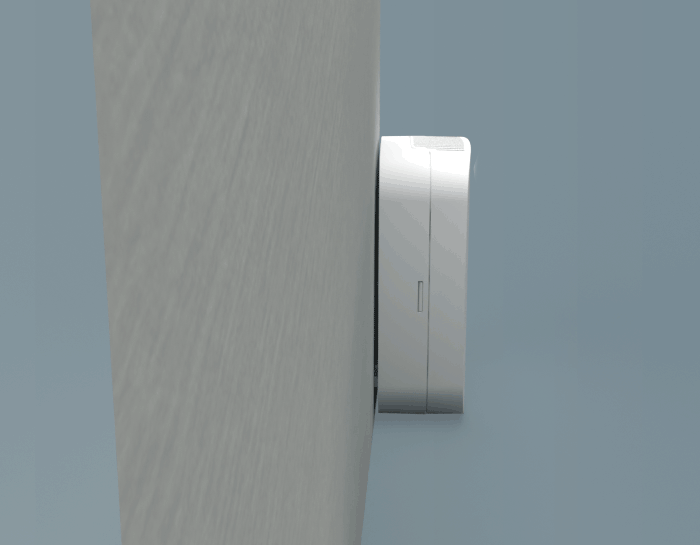
Allow room for your Bridge to breathe. Always place it upright and at least 3 inches from your frame.
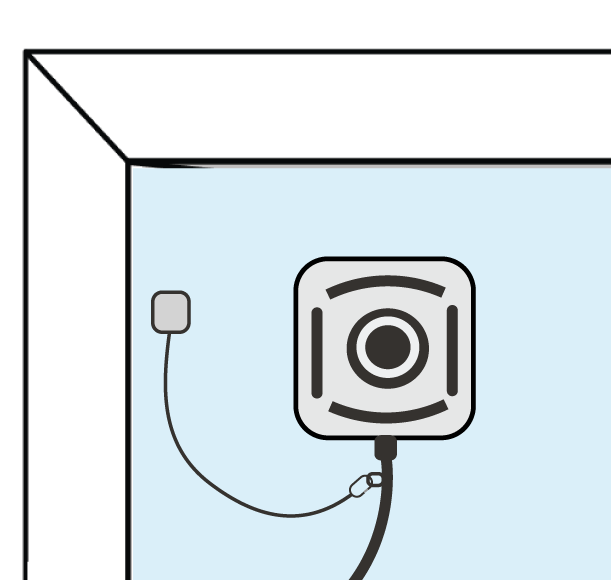
Anchor Strap
Ensure that you use the Anchor Strap included to secure the Outdoor Bridge to the window before installation.

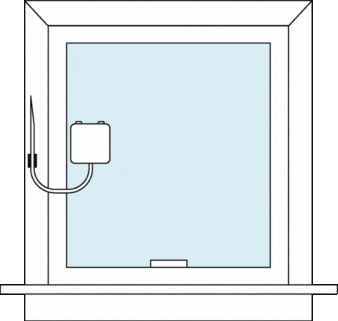
Casement
Rotating
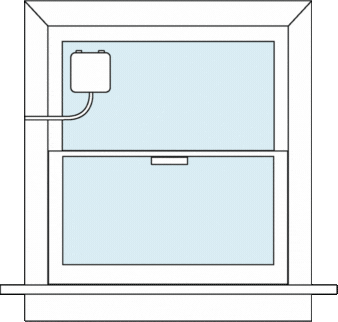
Vertical Slide
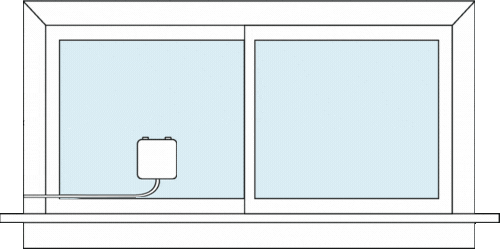
Horizontal Slide
Step 1
• A perfectly clean and dry window is the key to success
• Use the Solvent Wipe for a super strong hold.
• Ensure the window is bone dry before you mount your Bridge
Step 2
Choose Your Connection Method: Before proceeding, assess the distance between where you will mount your Outdoor Bridge on the window and the Outdoor Unit.
Option A: Direct ConnectionRequirement: Units must be less than 3 feet apart.
- Action: Follow the direct-connect guidelines at: www.bridgexc.com/direct-connect
Option B: Ethernet Extension (Most Common)
Requirement: Units are 3 feet or more apart.
- Action: Disconnect the Ethernet cable from the WiFi router
- Follow the steps outlined in the animation above to connect the Out Door Unit to the Out Door Bridge using the waterproof barrel connector.

Step 3
• Peel the backing tape off the anchor strap mount.
• Choose an area on the outside window close to where you intend to place the Outdoor Bridge
• Attach the mount to the outside of the clean and dry window.
• Connect the clip end of the strap to the clipping point on the Outdoor Bridge Cable
Step 4
• Peel the backing tape off of the Outdoor Bridge.
• Position the Bridge onto your window
• Apply firm pressure for 30 seconds.
• Gently massage the entire Bridge for another 30 seconds
Step 5
Time to go inside!
• Connect the ethernet and power cable into the bottom of the indoor Bridge
• Do not plug the power plug to the wall socket yet!
Step 6
Time to make a match!
• Peel off the backing tape
• Align the indoor bridge with the outdoor bridge and stick to the window
• Apply firm pressure for 30 seconds. Distribute the pressure evenly across the Bridge to ensure full contact for another 30 seconds
Step 7
• Connect the indoor Bridge with your Indoor WiFi router using the provided ethernet cable
• Plug the Indoor Bridge into the wall socket
Step 8
• Watch the LED indictors
• Once they all turn green, your Bridge XC setup is complete
• After a few minutes the LEDs will turn off
Pro Tip
• To remove and reposition the Bridge, gently hold the centre of the device and use a slow, steady levering motion to detach it.
Power (Left LED)


LiFi (Middle LED)


Modem (Right LED)


